Santiago de Compostela,
from seven aerial images
A public aerial survey of a historic city centre, already oriented by its producer. StereoCAD reads it as it is, checks it on the images, views it in stereo, computes the surface and the orthophoto, and the drawing starts. Anyone can download the same data and repeat every step.
- 7aerial images, 2 strips
- 0.63 pxmedian miss between pairs
- 478 millionpoints in the dense cloud
- 16 cmon the ground per pixel
Public data, as anyone can get it
The images come from the Spanish National Plan of Aerial Orthophotography (PNOA): seven frames of the 2020 flight over Galicia, taken with an UltraCam Eagle at 80 mm focal length. The Spanish National Geographic Institute (IGN) publishes, for each frame, the position and attitude computed by its own aerial triangulation, and the calibration certificate of the camera. Everything is free, under CC BY 4.0.
The orientation is converted into a BINGO file, a common photogrammetric format, with the camera in a small text file next to it.
Data: PNOA 2020, Instituto Geográfico Nacional, Centro de Descargas del CNIG. Every picture on this page is Obra derivada de PNOA 2020 CC-BY 4.0 scne.es.
One window to start
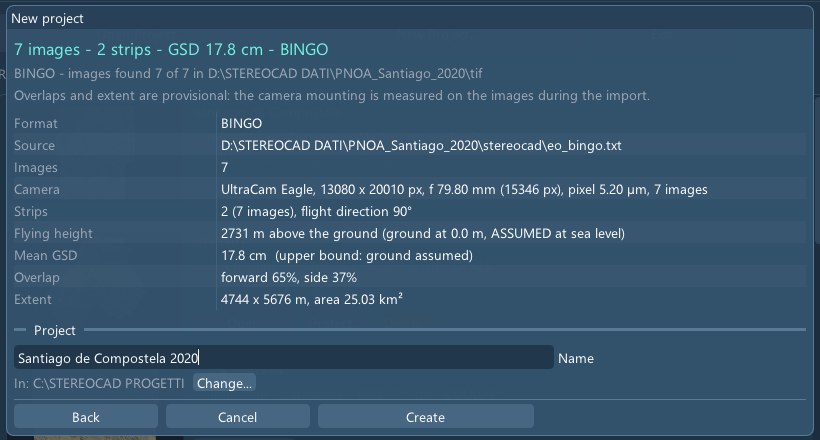
New project, choose the folder. StereoCAD recognises the format, the camera and the images by itself, counts the strips, and estimates the overlaps and the extent before anything is written. The project takes its name from the folder; here it was changed to the name of the city.
Checked on the images, not trusted
Before preparing anything, StereoCAD tries the orientation on the pictures themselves. It finds about a thousand points seen by two images and checks that their rays meet. The file did not say how the camera was mounted: of the four possible rotations, only one made the rays meet, and the program kept it on its own.
With that rotation, the rays of a pair miss each other by 0.63 pixels in the median, and 97% of the points are within the limit. A block whose pairs do not meet is refused, with the reason, instead of being shown wrong in stereo.
In stereo
Each image is resampled once onto a horizontal plane, so that two of them can be seen one per eye. Points at the height of the plane coincide; roofs and towers shift sideways, and the eyes read that shift as depth. Here the two images are alternated: the cathedral moves against the square.
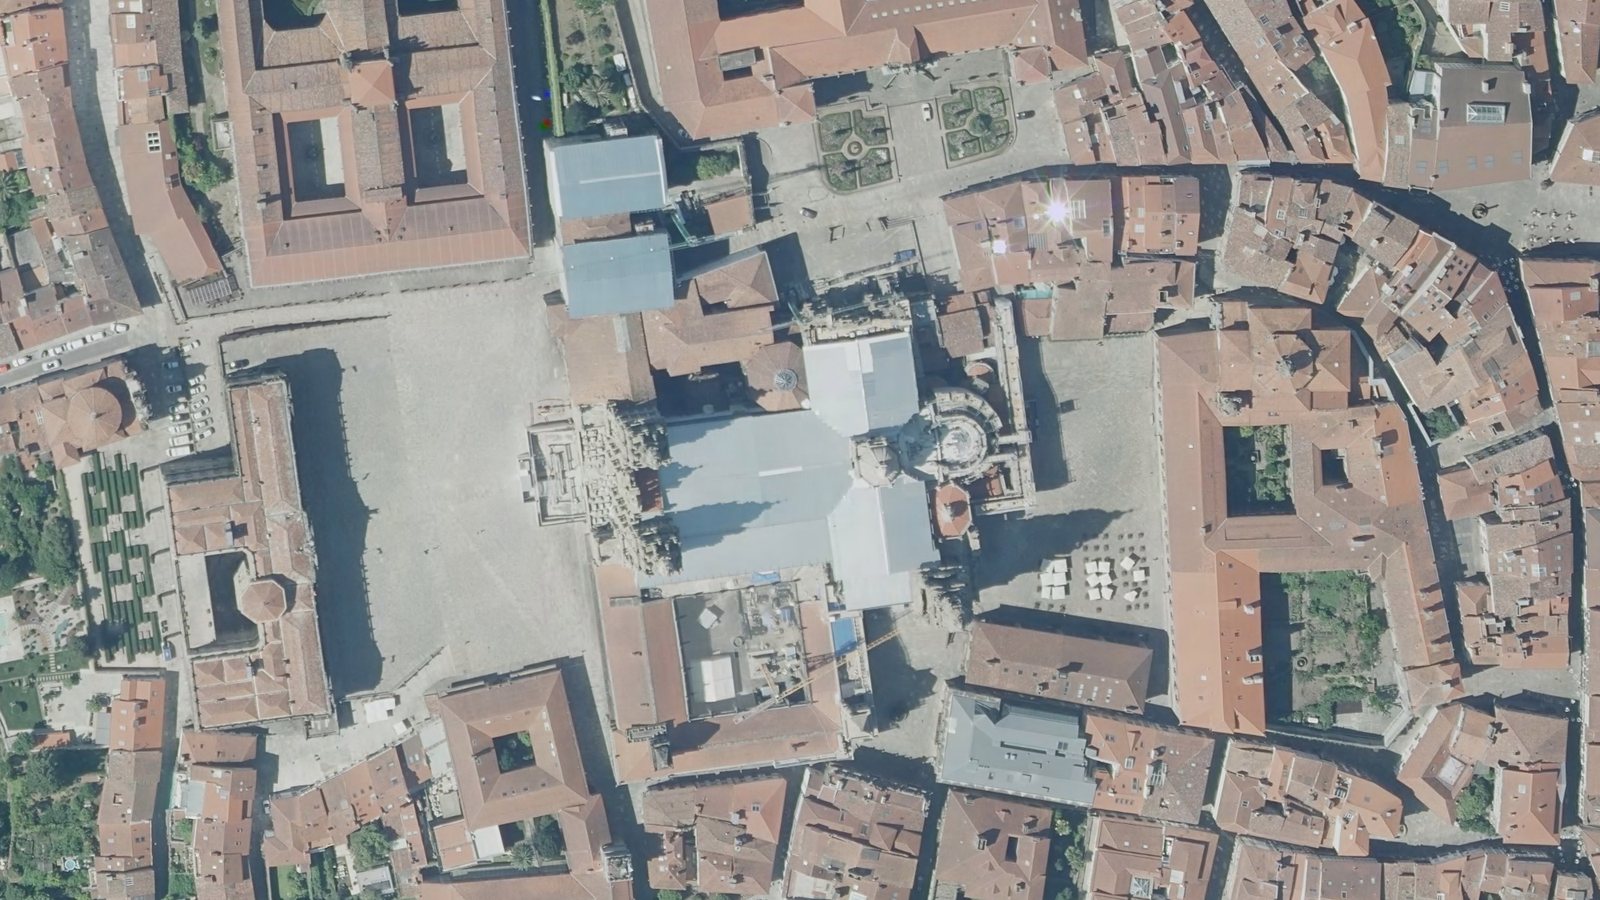
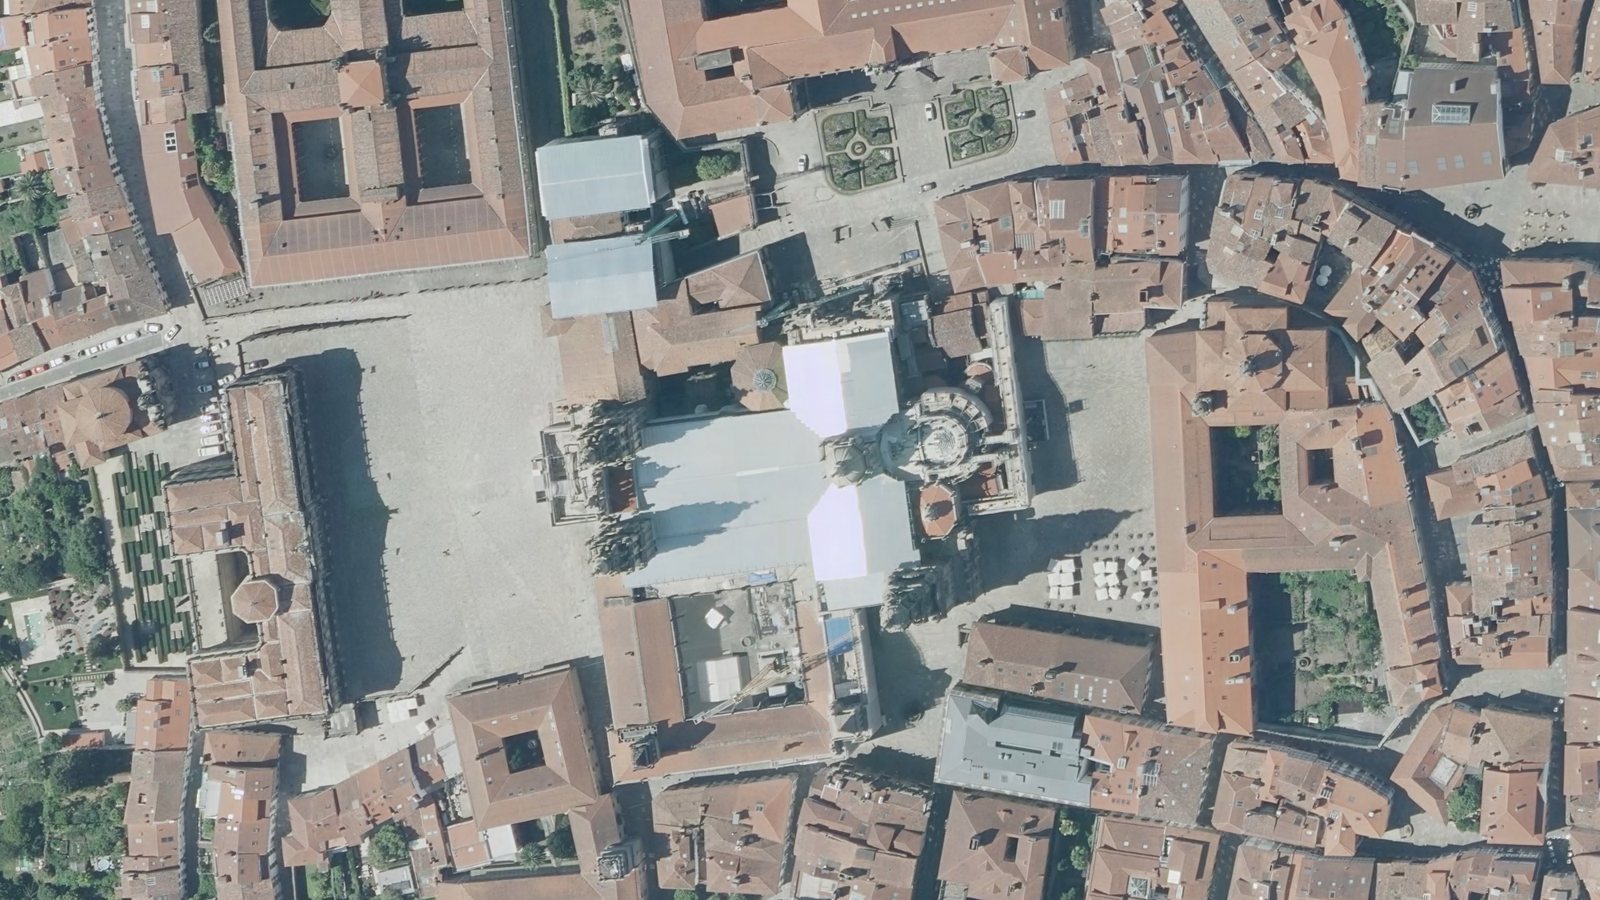
The two eyes of the pair have no vertical parallax: measured on the whole picture, 0 pixels.
The surface, from the same images
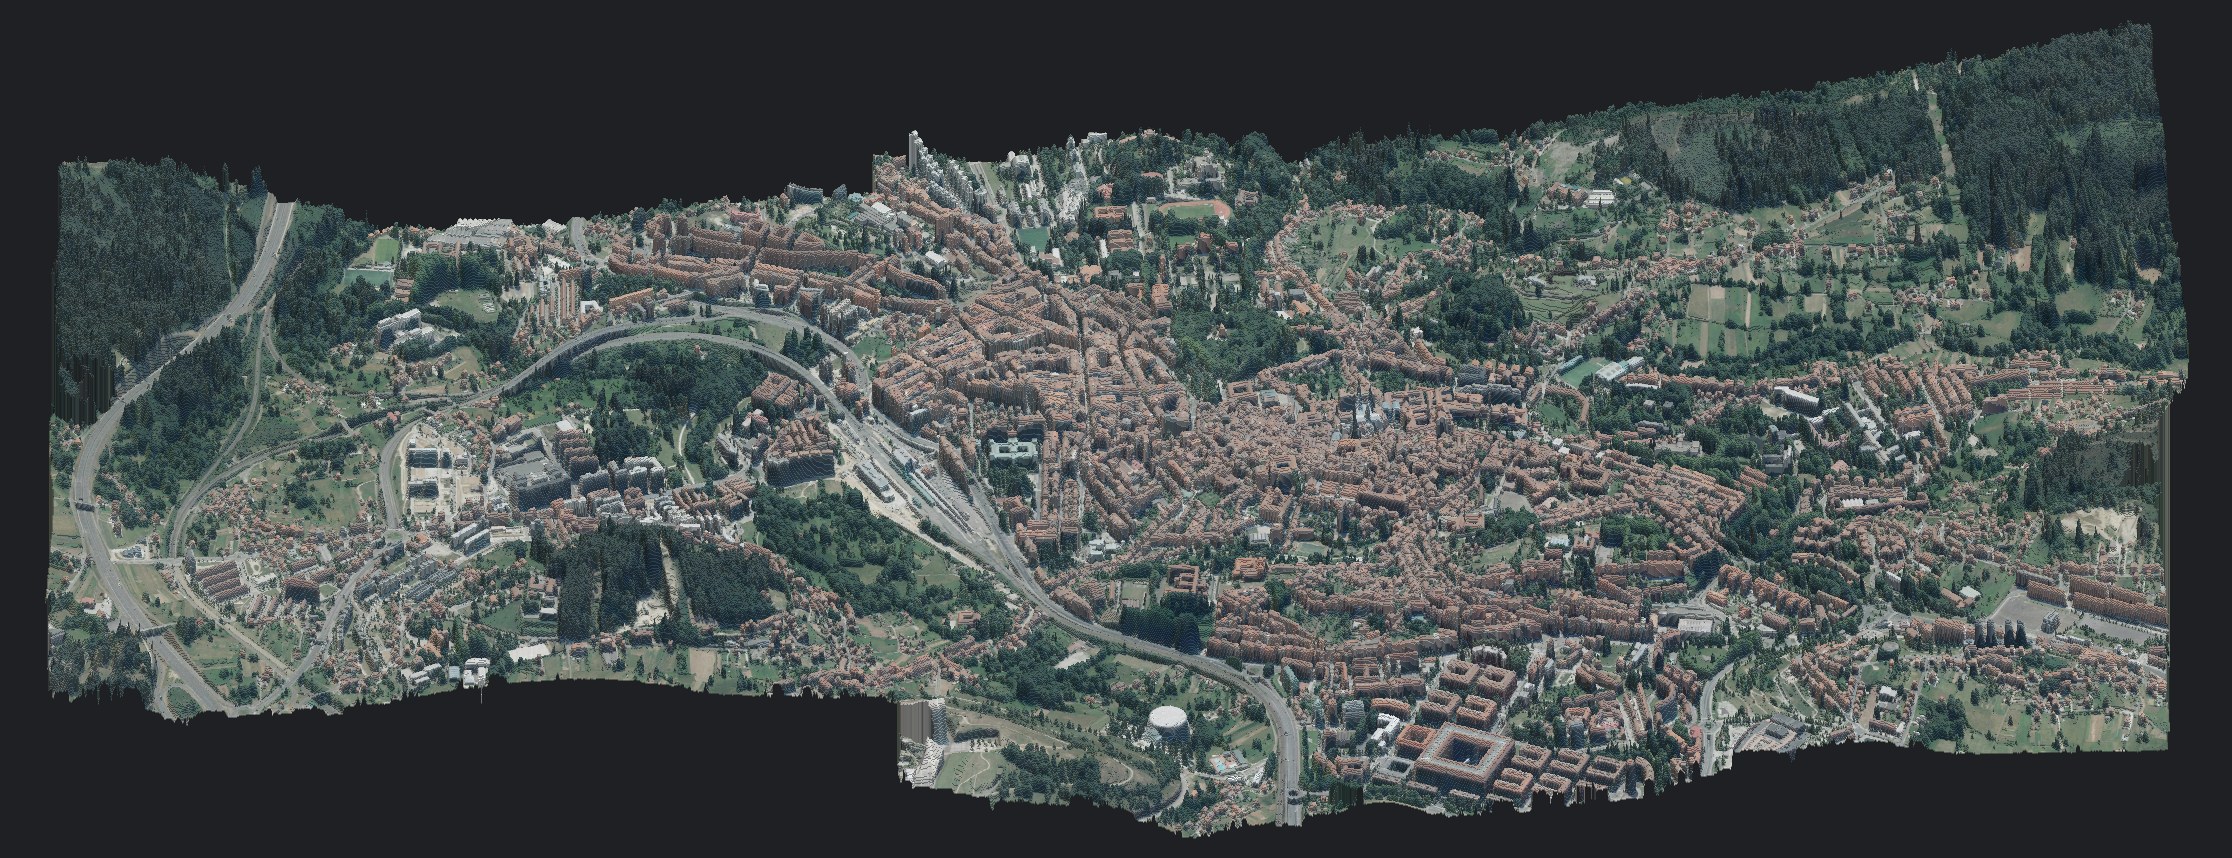
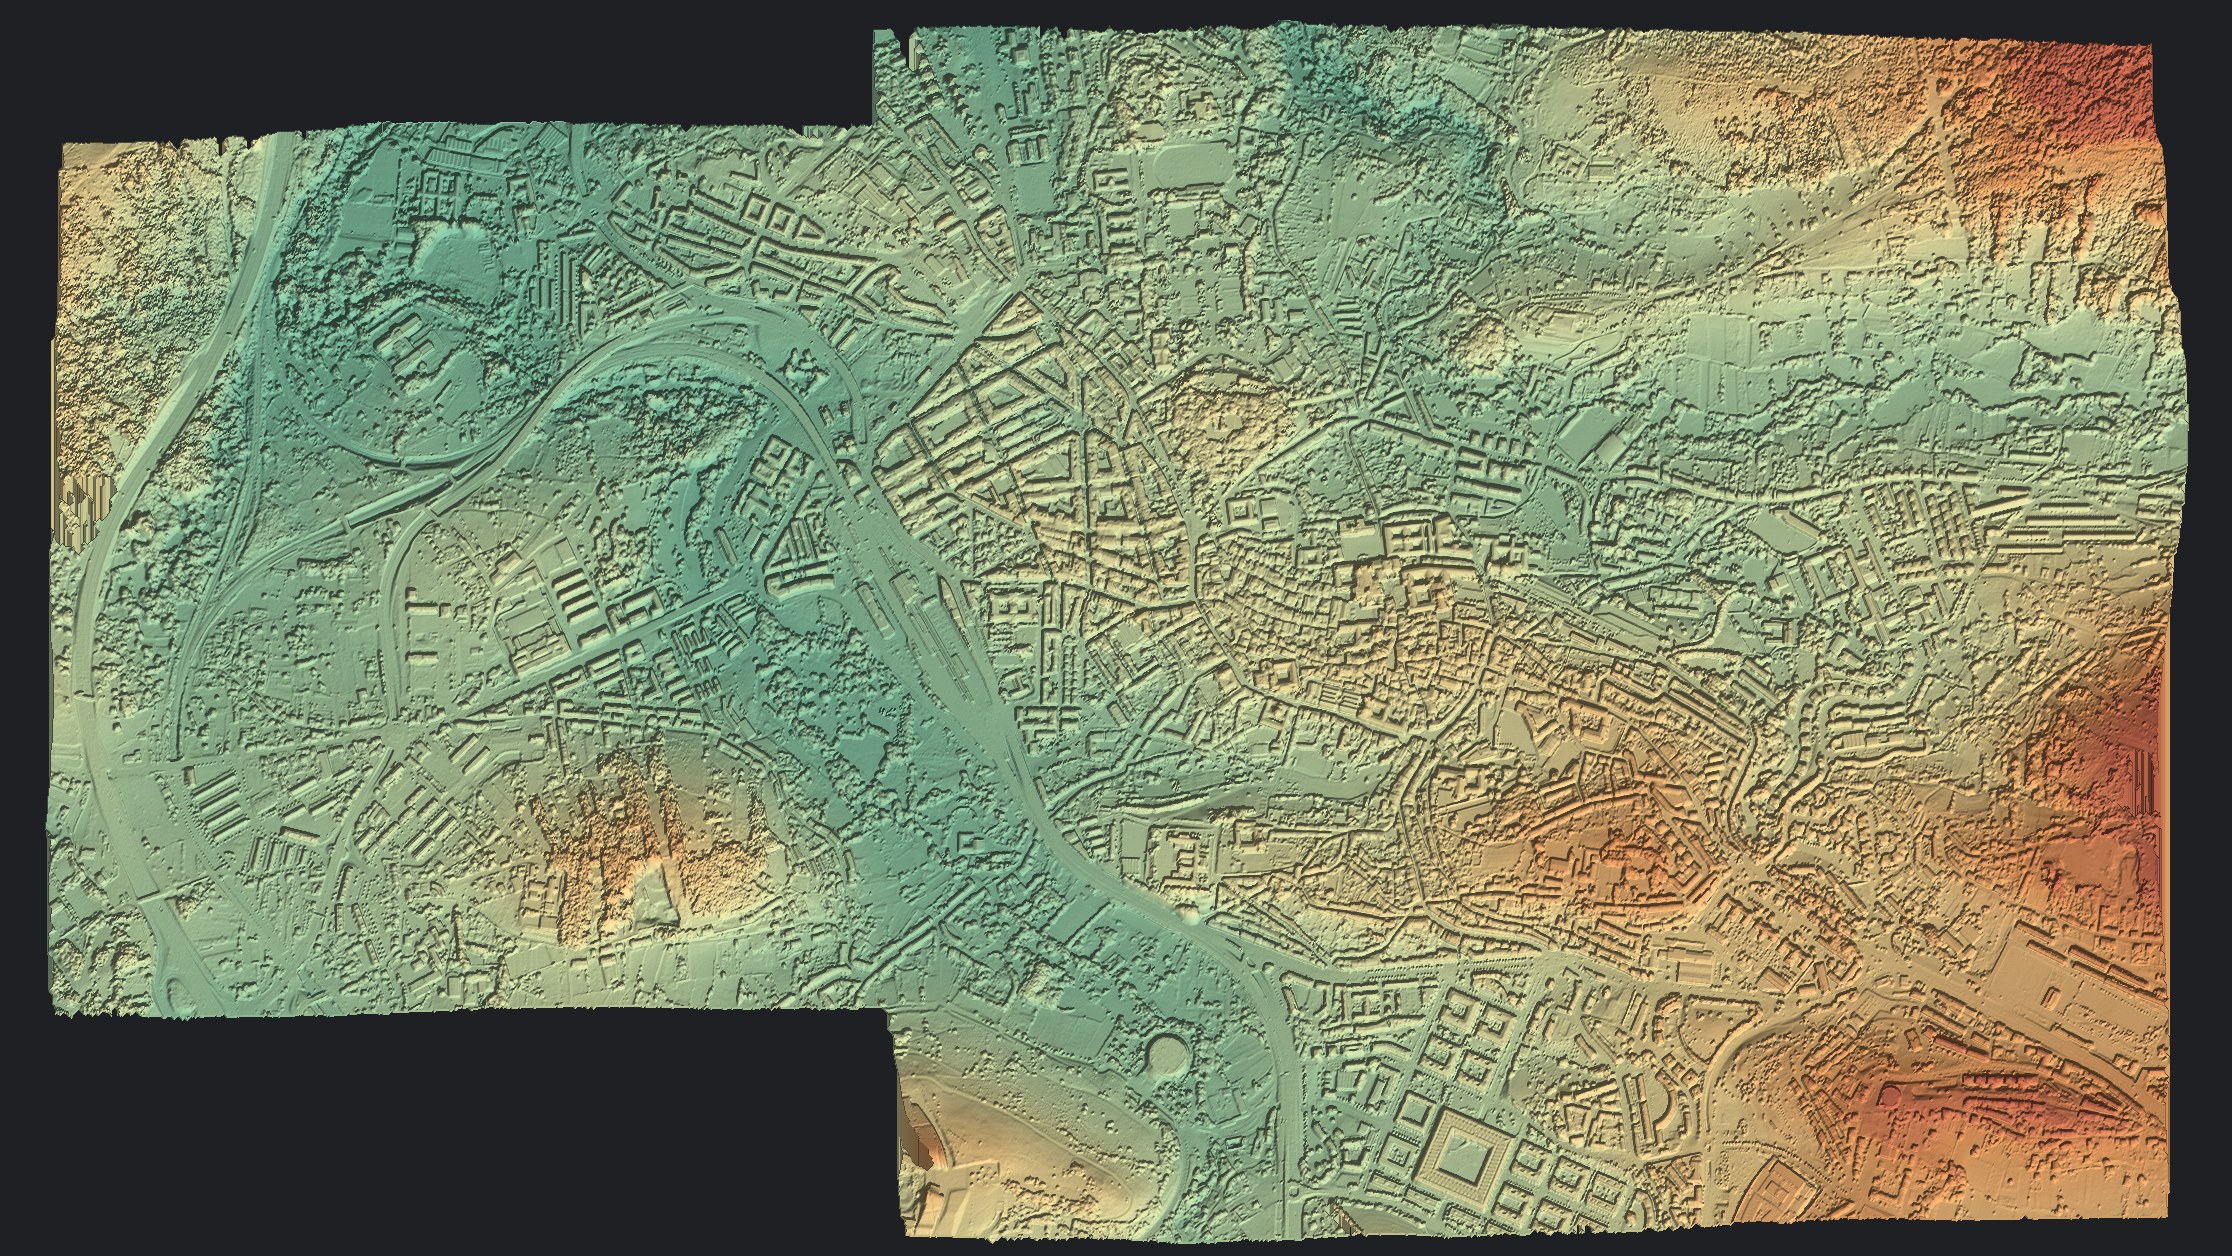
On opening, StereoCAD offers to compute the dense cloud, with the time it expects on this computer. At full resolution it compared 30 pairs and merged them into 478 million coloured points, one every 16 cm, over the whole block: about 3 by 5 kilometres of city and hills.
From the cloud come the DSM, with a 32 cm cell, and the orthophoto. Where the matching is uncertain, as on dark or steep roofs, 74 roofs were rebuilt from their certain parts and marked as such, so the gaps are never hidden.
Drawing, with the right height
Without stereo glasses, the mark follows the DSM: every vertex drawn on the orthophoto gets its height from the surface, shown in the status bar. Snaps and polar tracking work as in any CAD.
One project for everything
Orthophoto, DSM, dense cloud and drawing are layers of the same plan, each with its own switch. The overview on the right shows the frames of the block and the pair in use.
Try it on data like yours
The same steps work on drone and terrestrial images, and on blocks that are not oriented yet.